
Don't you just love Baby Sacks! So Cozy and sweet. We were lucky enough to have a new baby niece born over the weekend and I gave her a store bought gift at her shower (gasp). Everyone kept saying I was looking forward to seeing what you were going to make.
I'd been wanting to make one of these Baby Sacks for a while. I decided that once the baby was born I'd maybe have time to make one.
All I did was take a Basic Onsie, and a baby sack that you already have. (if you don't already have one you can easily just eyeball it. I would say the material is about 16 inches long and the same width or slightly wider then the onsie you are attaching it to.)

 Lay the onsie over the baby sack (if you have one). Fold the onsie in half to show the point that you want the fabric attached to. If you want to cut off the bottom of the onsie you can. I chose to leave the bottom part with the snaps in place. But you could easily go either way.
 Lay the whole thing on top of the material you want to use. Simply trace around it and cut it out.


I wanted to do a lace over lay so once I cut out my base fabric I laid it out on top of the lace I wanted to use and cut it out. So you have 4 pieces of fabric. 2 lace and 2 base pieces.
Pin the lace and the overlay together. The 2 pieces of lace are going to be sandwiched between the two basic fabric pieces. Sew the long sides of both.
 Next fold up the bottom piece and hem it. I chose to add 2 button holes on the front of the hem, so I can thread the ribbon thru it. Making a button hole is different on every machine. There are tons of great tutorials out there. I like this one here.
 If you want to use elastic, then button holes aren't necessary. just make sure to leave a small opening to thread the elastic thru and sew up after.
Next, place the onsie inside the little mermaid tail you've created. Fold the material up so it's going over the onsie like this picture on the right. Pin it all the way around and sew it. This will attach the sack you've created to the onsie.
 |
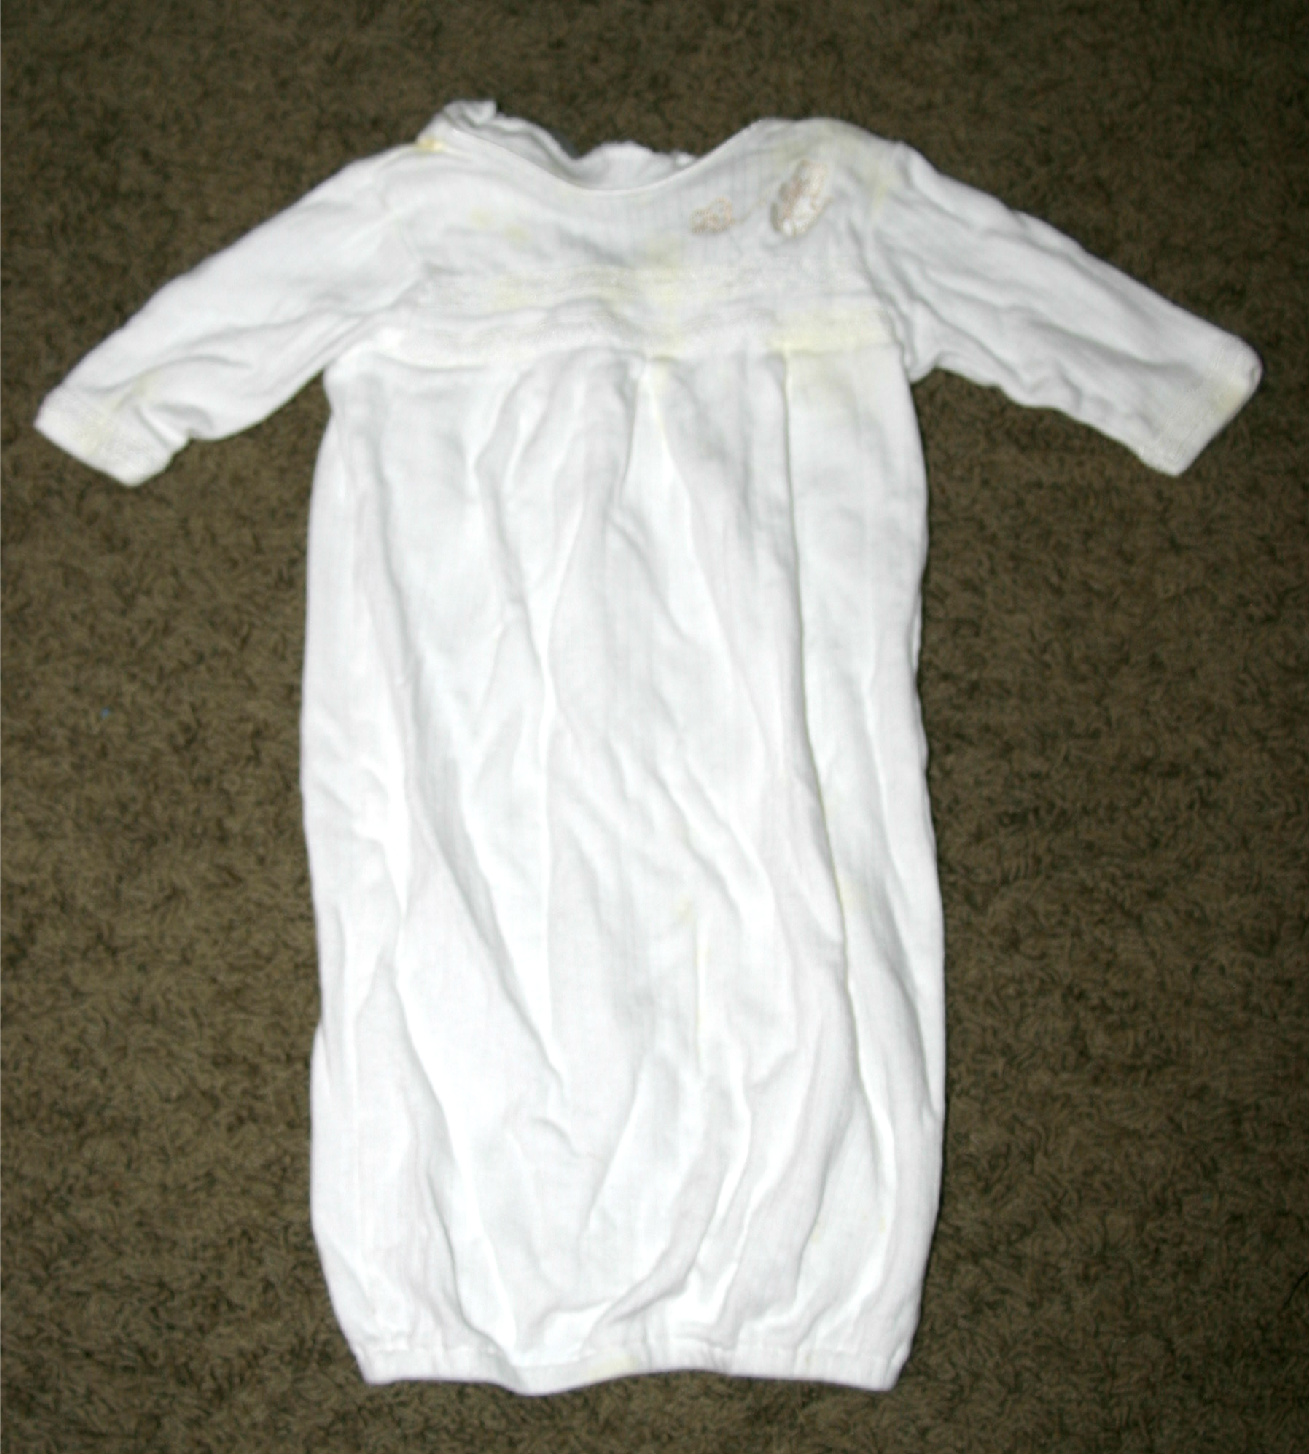
| Wow, sorry about the awful lighting in this picture. |


Next just thread your ribbon through the button holes you made (or add the elastic if you wanted to do elastic instead) and tie a bow and your done. So Fun!
Hopefully she likes it!

No comments:
Post a Comment
I love your comments!!