 |
| After |
 |
| Before |

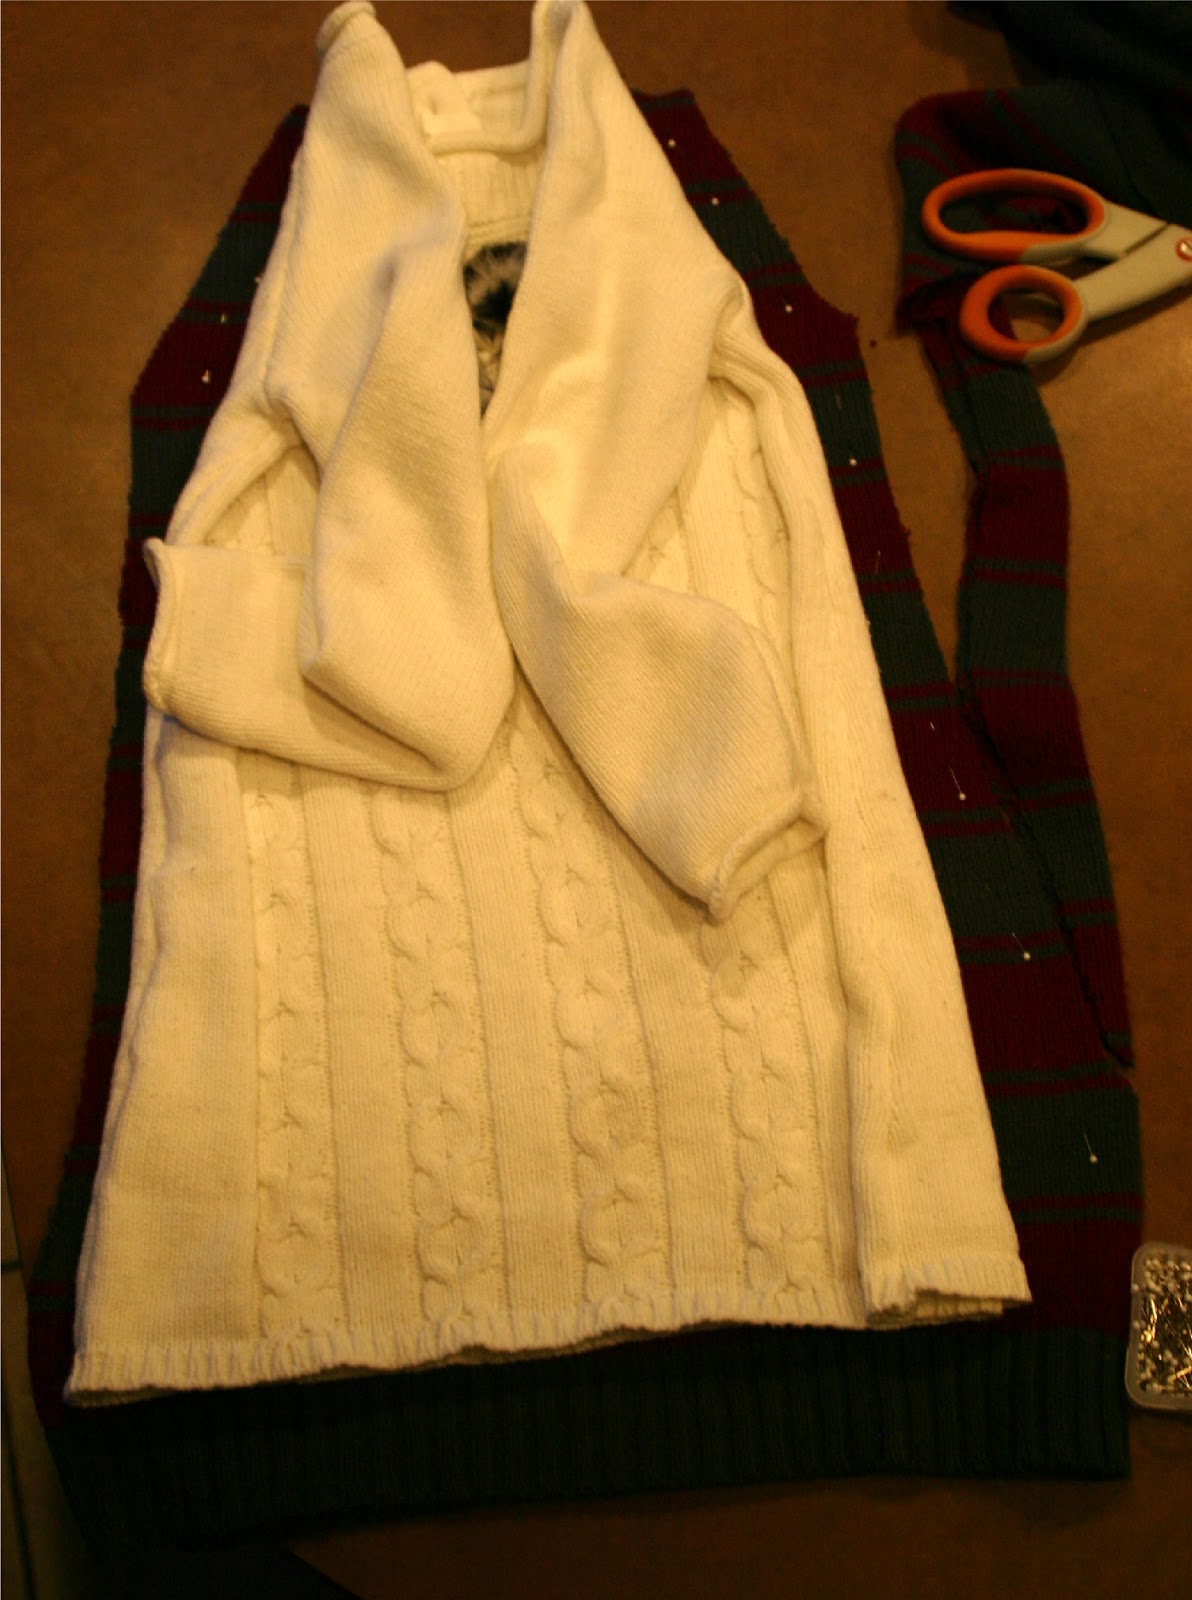
I folded the sleeves in to show the seams along the body of the dress and simply cut along it. I added about an inch extra on either side for seam allowance and to make sure it would fit for a while. I also wanted to leave a little extra just in case the knit started to come undone before I could sew it.
Then, flip your new pieces inside out and pin along both sides. Sew or serge all the way up making sure you stop at the armpit so that you will be able to add sleeves later.

 Next, lay the sleeve you cut out, over the sleeve pattern you are wanting to use and cut it out. If the dress you are refashioning doesn't have sleeves you can use the fabric you cut off or make it sleeveless. Be creative! In this case I chose not to make the sleeves thinner. I know how my girl likes it and she doesn't like the sleeves too tight. So I decided to go with comfort. All I did was cut off some of the length.
 Next pin the sleeves to the dress and sew or serge them on.

 Once you have sewn up the sides and attached the sleeves the dress should end up like the picture below.
 Fold over the top of the neck, back and sleeves about and inch and pin all the way around. Sew all the way around leaving a small opening and add some thin elastic. I just add the elastic and watch it getting smaller and eyeball it. Once you get the size you would like cut the elastic and sew the 2 ends together. Then sew your hole closed that you used to put the elastic in and your done.
 I did tie a ribbon around the waist to break it up a little.
It turned out so adorable! And she loves it which is always a bonus :) Don't throw out all the scraps. In my next post I will show you the fun stuff that I made for myself out of the scraps! Love it!!

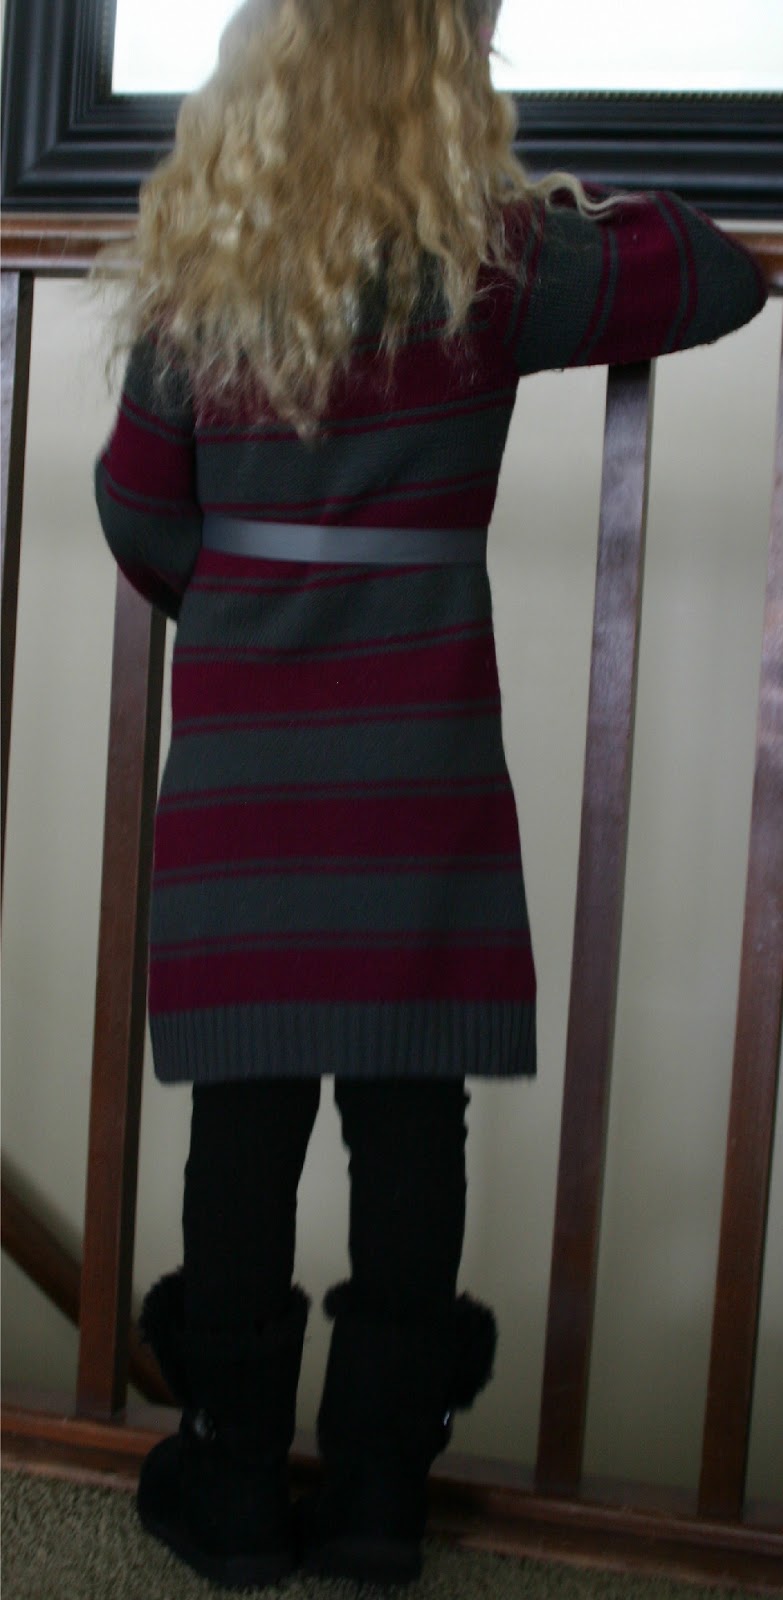
She is adorable, and so is the dress!
ReplyDeleteThanks Lindsi :) she is all about posing for the camera.
ReplyDelete